Git is a powerful version control system that allows developers to track changes to their code and collaborate with team members. If you’re working on a Windows machine, you’ll need to install and configure Git in order to use it.
Installation
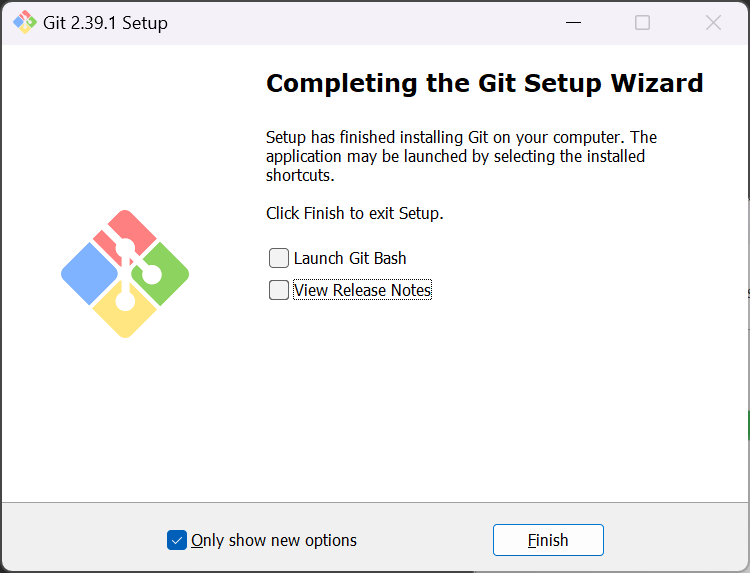
Installing Git on Windows is straightforward. Simply visit the Git website and download the latest version. Run the installer and follow the prompts to complete the installation.

Once the installation is complete, open a command prompt and type git --version to verify that Git is installed and working properly. You should see output similar to this:
$ git --version
git version 2.27.0.windows.1
Configuration
Before you can start using Git, you’ll need to configure it with your name and email address. This is important because Git uses this information to identify you as the author of any changes you make to your code.
To configure Git, open a command prompt and type the following commands:
$ git config --global user.name "Your Name"
$ git config --global user.email "your@email.com"