For this blog, you’ll need a basic understanding of Git as version control system and its basic commands.
What is Git Rebase?
Git rebasing is a feature in Git that lets you change the base of a branch. This feature is useful when you want to clean up your Git history, or when you want to update a branch with changes from a different branch. Git rebasing works by taking your branch, and replaying your commits on top of another branch. This makes it appear as though your branch was developed from the new base, rather than the original base.
Why Use Git Rebase?
There are several reasons why you might want to use git rebasing. The main reason is to clean up your Git history. If you’ve been working on a branch for a while, your Git history can become cluttered and difficult to read. Git rebasing lets you reorder your commits, edit your commit messages, or even squash multiple commits into one. This makes your Git history more readable and easier to understand.
Another reason to use git rebasing is to update a branch with changes from a different branch. For example, let’s say you’ve been working on a feature branch, and someone else has been working on a different branch that you want to merge into your feature branch. You can use git rebasing to reapply your changes on top of the other branch, so that your feature branch is updated with the latest changes.
How to Use Git Rebase
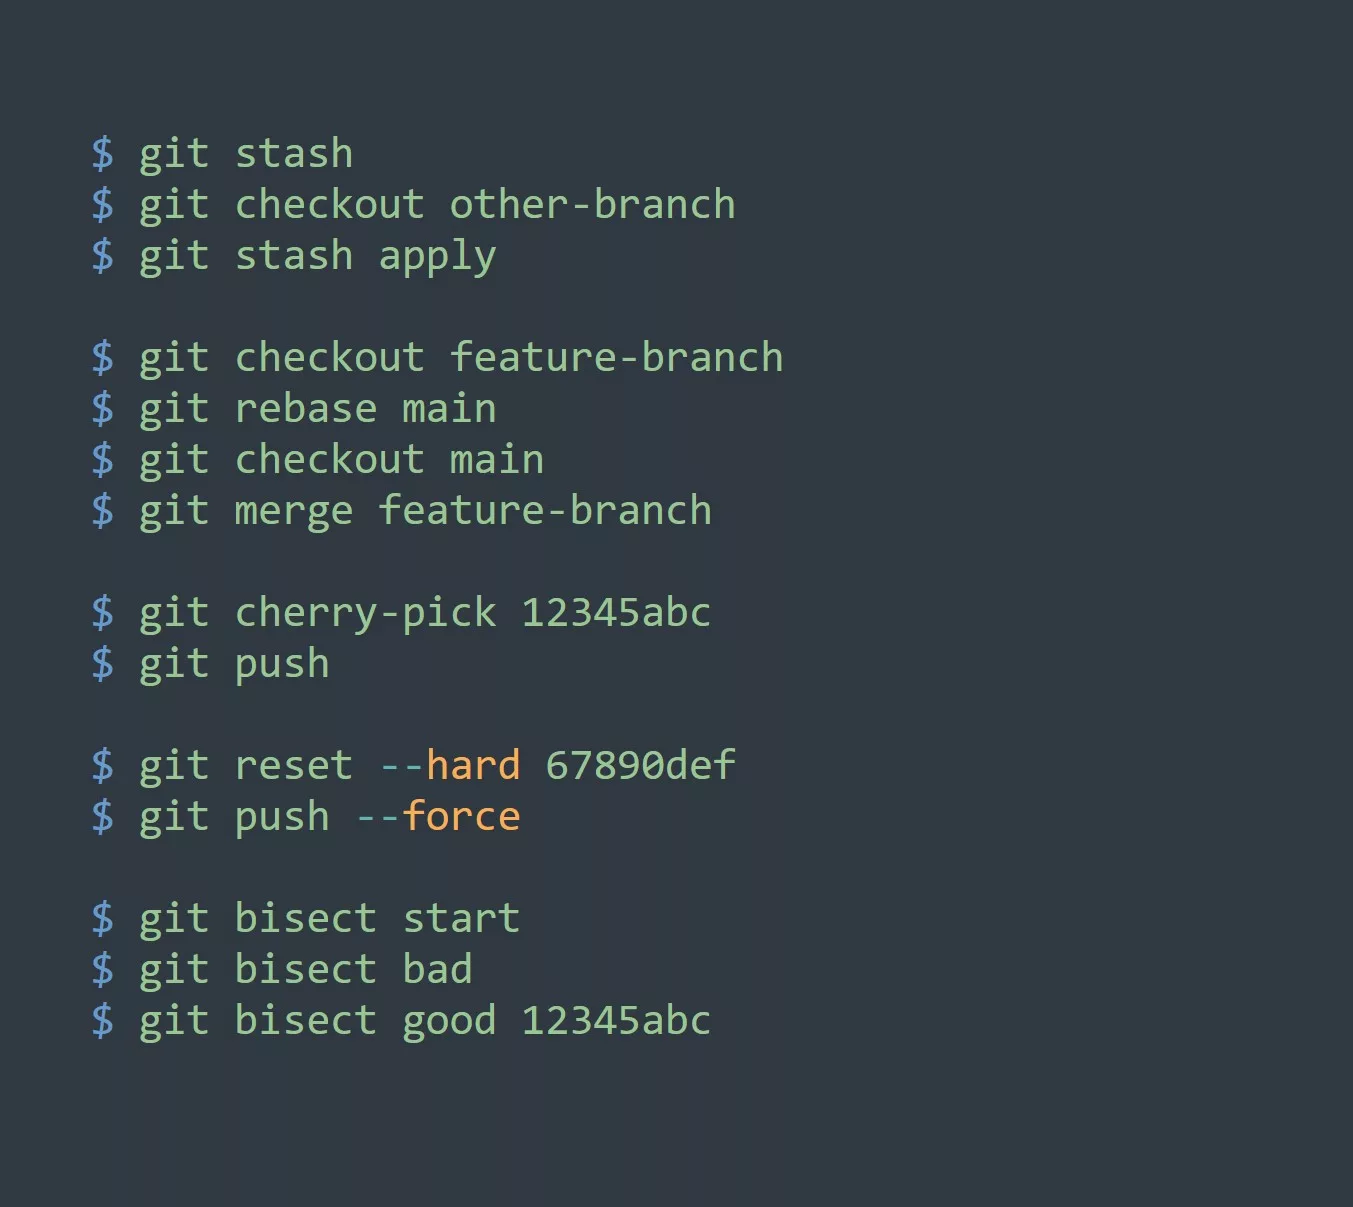
To use git rebasing, you first need to checkout the branch that you want to rebase. Then, you use the git rebase command followed by the branch that you want to rebase onto. For example, let’s say you have a branch named “feature” and you want to rebase it onto the “master” branch. You would run the following command:
$ git checkout feature
$ git rebase master
After you run the rebase command, Git will reapply your changes on top of the “master” branch. This makes it appear as though your branch was developed from the “master” branch, rather than the original base.
It’s important to note that git rebasing is not a replacement for merging. While git rebasing lets you clean up your Git history, it doesn’t preserve the branch history. This means that if you rebase a branch, the branch’s history will be lost, and it will appear as though the branch was developed from the new base.
Avoiding Common Pitfalls
While git rebasing is a powerful feature, it also comes with some risks. One of the biggest risks is that rebasing can cause conflicts. For example, let’s say you’ve been working on a branch, and someone else has been working on a different branch that you want to rebase onto. If the other branch has changes that conflict with your branch, you will need to resolve those conflicts before you can complete the rebase.
Another risk with git rebasing is that it can cause problems if other people are working on the same branch. If you rebase a branch that other people are working on, you can cause problems for their work. This is because rebasing changes the branch’s history, which can make it difficult for other people to merge their changes into the branch. To avoid this, it’s important to communicate with other team members before you start rebasing a branch that they are working on.
5 Tips for Git Rebasing
- Always back up your work before rebasing. This way, if something goes wrong, you have a backup to revert to.
- Use the
-interactiveoption when rebasing. This lets you interactively edit your commits and reorder them. - Test your changes after rebasing to make sure that everything still works as expected.
- Always communicate with other team members before rebasing a branch that they are working on.
- Use rebasing with caution. While rebasing is a powerful feature, it can cause problems if used improperly.
Examples
Use case 1:
Updating a branch with changes from a different branch Assume you have two branches, master and feature. The feature branch has changes that you want to merge into the master branch.
$ git checkout feature
$ git rebase master
$ git checkout master
$ git merge feature
Use case 2:
Cleaning up Git history Assume you have a branch with multiple commits that you want to combine into one commit.
$ git checkout branch-to-clean-up
$ git rebase -i HEAD~3
In the rebase interactive mode, choose “squash” for all but the first commit Complete the rebase process
Use case 3:
Syncing a fork with the upstream repository Assume you have forked a repository from itvraag.nl and you want to sync your fork with the upstream repository.
$ git checkout master
$ git fetch [itvraag.nl](<https://itvraag.nl/>)
$ git rebase [itvraag.nl/master](<https://itvraag.nl/master>)
Use case 4:
Applying a fix to multiple branches Assume you have a bug fix in a branch named fix-bug and you want to apply the fix to multiple branches.
In the rebase interactive mode git rebase -i master, choose “pick” for the fix-bug commit and complete the rebase process.
$ git checkout fix-bug
$ git rebase -i master

$ git checkout branch1
$ git rebase fix-bug
$ git checkout branch2
$ git rebase fix-bug
Conclusion
Git rebasing is a powerful feature in Git that lets you change the base of a branch and reorganize your Git history. By using git rebasing, you can clean up your Git history, update a branch with changes from a different branch, and make your Git history more readable. However, it’s important to use rebasing with caution, as it can cause conflicts and problems if used improperly.
Challenge
Try rebasing a branch in your own Git repository, and see how it changes your Git history.
Do you have any tips or tricks for using git rebasing? Let us know in the comments below!


